Windows XP Service Pack 1 Installation Welcome to Microsoft's Windows XP Service Pack Install step by step. This will give you an idea on how to do this when and if the time arises for you upgrade your Windows XP. This install guide is fully graphical and will take you through each step of the installation. What you will require to do this walkthrough is A Windows XP Install The Service Pack 1 Download
To acquire the service pack, you can either download it from here: http://servicepack1.windowsreinstall.com/ , get it off a magazine cover disk, or get it through the Windows Update Button in the Start menu. It is best to download the file and burn it onto CD, so that you have a backup for future use. The complete downloaded file is 133mb. So if you are using a modem, then this will take some time.
This is the download page for the Service Pack. 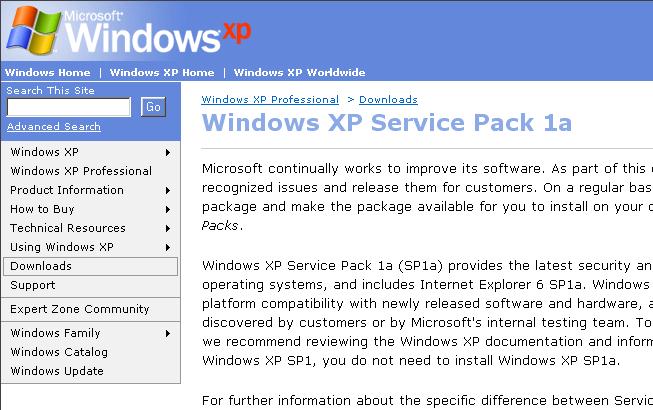
To install the Windows XP Service Pack, simply click on the file "XPSP1_EN_X86" that you have downloaded 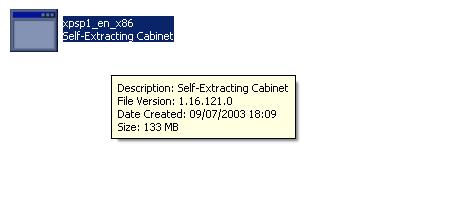
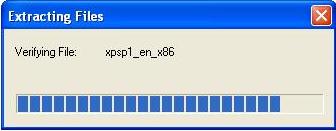
The Service Pack will start extracting files. This may take sometime.
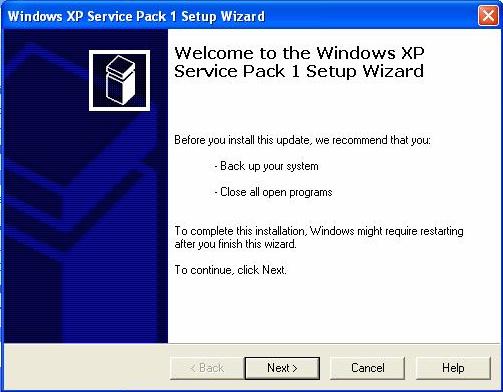
Then the Service Pack Wizard will appear. Click on "NEXT" to continue.
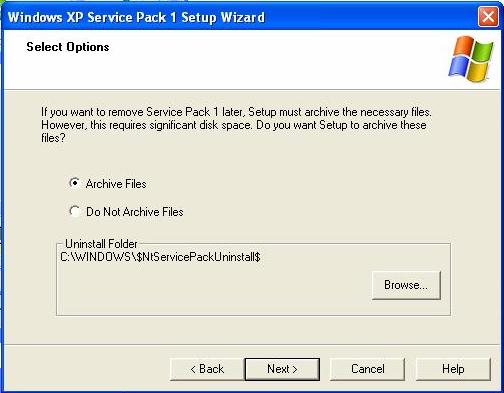
Now the install will ask if you wish to Archive files, this means that you can uninstall the Service Pack at a later date. Believe me you will not want to, but as always the choice is yours. So make your selection and press "NEXT" to continue.
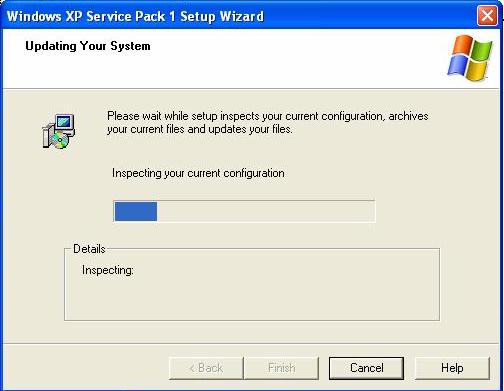
Service Pack will now update your computer.
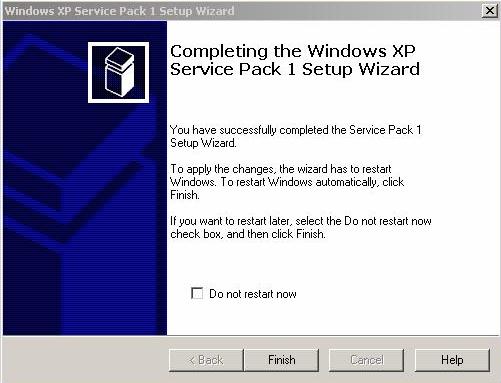
And then to finalize a reboot will be required. Click on "FINISH" and your computer will reboot, this boot will take longer than normal. So be patient and allow the Service Pack to complete.
You are now back at the desktop, with service pack and all installed. 
|