Welcome to Microsoft's Windows XP Professional reinstall guide for earlier versions released without a pre-installed service pack or service pack1. This guide is step by step and should be used when reinstalling onto a used hard drive (Or a hard drive that has had an operating system before). This is a clean install of windows (Which will remove the contents of the hard drive, so backup first) and should be trouble free of errors and problems as long as your system fits the minimum specs as laid down by Microsoft.
| Special Notes:  |
Your Windows XP Professional CD Windows XP COA, or serial number. Your computer Plugged into Mains Power A Computer, with the usual accessories (Mouse, monitor, keyboard etc) CD-ROM/DVD Drive.
To start this Windows install. First check that the first boot device in your system BIOS is set to the CD-ROM Drive. ( To find out how to access the BIOS please refer to your motherboard manual or the manufacturer of your Computer. (The system bios can usually be entered on boot, usually by pressing the F1, F2, F8, F10 or DEL key. Make sure you save the settings before exiting)) If you are unsure or don't want to enter the BIOS then just test the computer by putting the CD-ROM in the drive and reboot your computer. This is the recommended way to install windows.
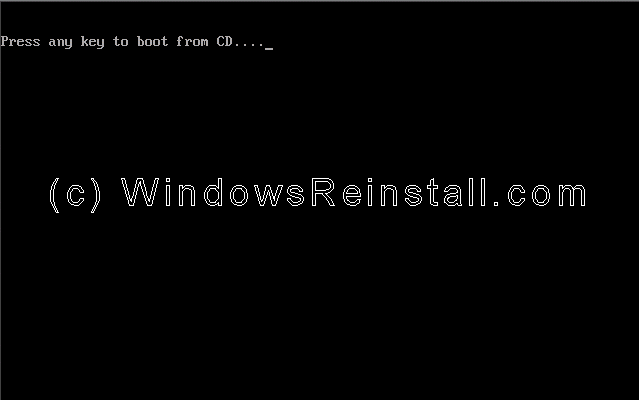
To begin insert your Windows XP Professional CD and reboot you computer. A message "Press any key to boot from CD....." will appear, press the space bar to continue.
Setup will now inspect your computer hardware and configuration. 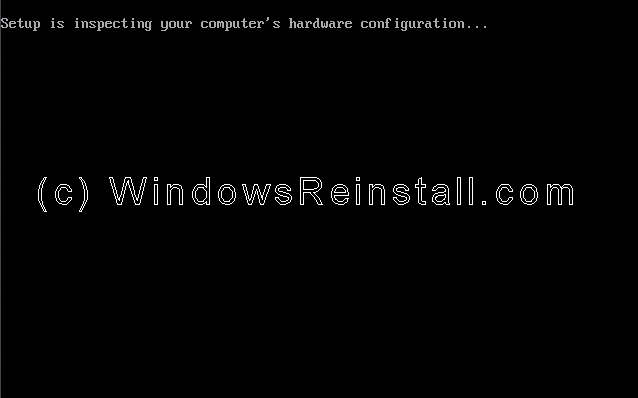
Setup now prepares your computer for install. 
From this menu press "ENTER" to begin the install. 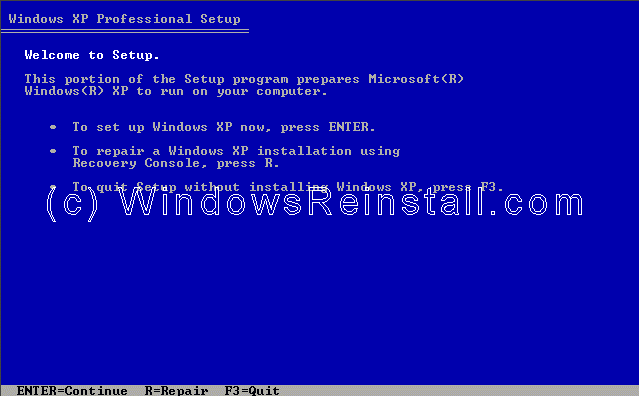
Windows XP License agreement, read, and if you agree press "F8" to continue, press "ESC" if you disagree. If you disagree setup will finish. 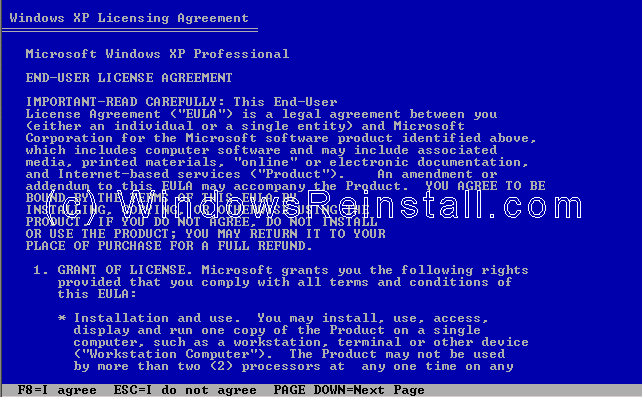
The next step is to delete the partition, press "D" to delete the selected partition. 
Now press "ENTER" if you are sure you want the partition deleted. 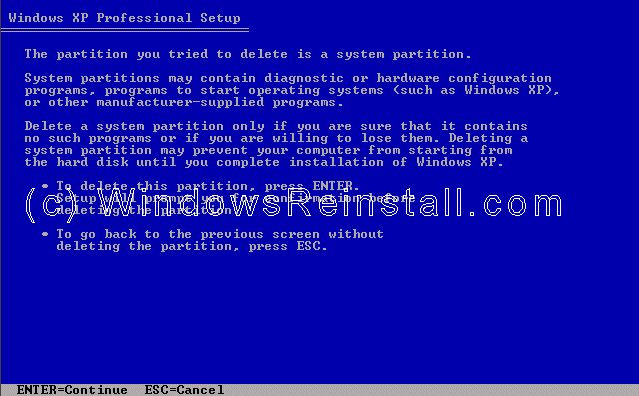
Now is your final chance, press "L" to confirm deletion. 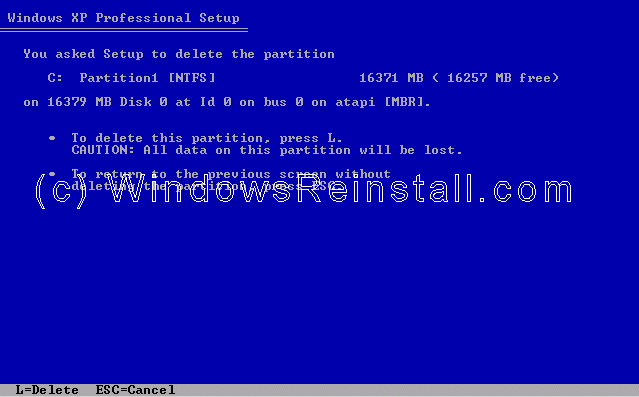
Now you have to select where to install XP. Press "ENTER" to confirm the partition you want to install into. 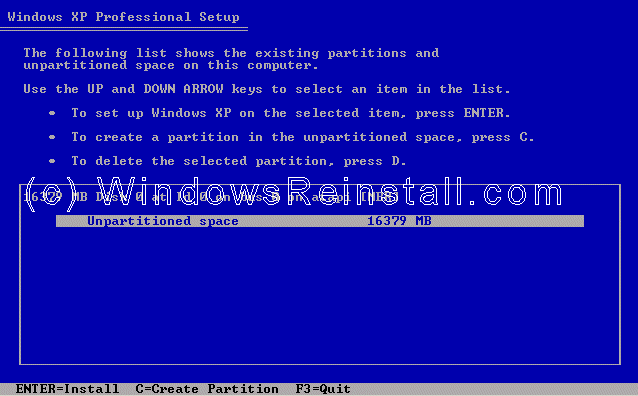
Now you need to format the hard drive, NTFS is recommended, but you can also use FAT32. Make your decision using the arrow keys and press enter. 
The hard drive will now format. 
and then setup will begin to copy files. 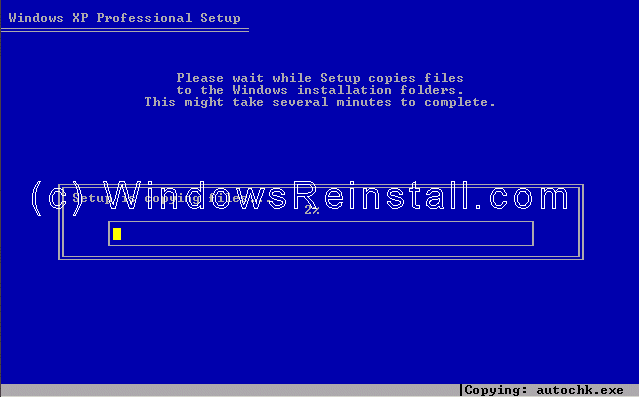
Setup now initializes the Windows XP configuration. 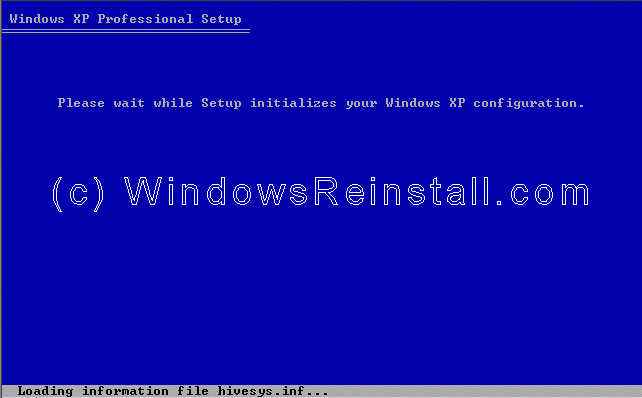
It is now time to restart Windows XP, press "ENTER" to speed up process, otherwise Windows will do it itself in 15 seconds. 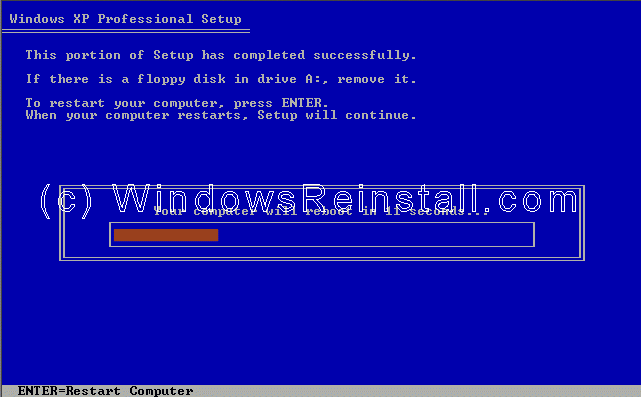
Boot will recognize that the XP CD is in the drive, DO NOT press any keys, let setup bypass the CD boot. 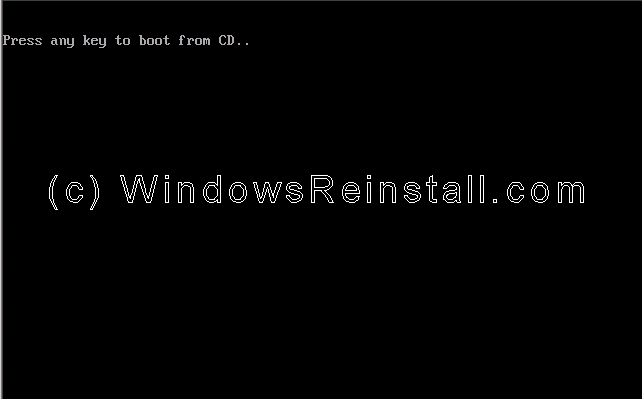
Windows is now booting. 
The install process continues. 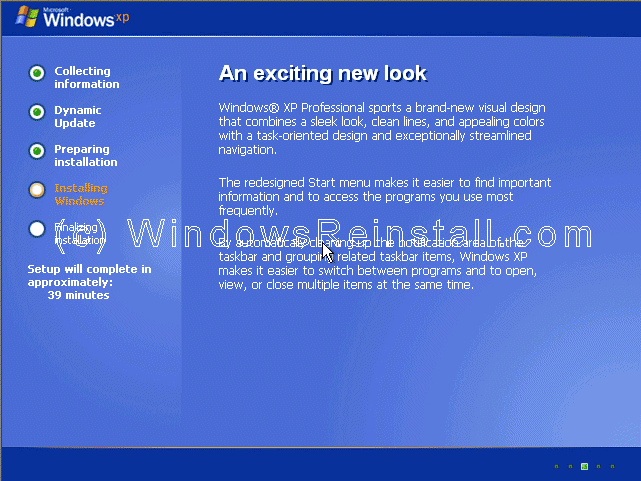
Now your regional and language options. Your mouse should now be active, so click on "CUSTOMIZE". 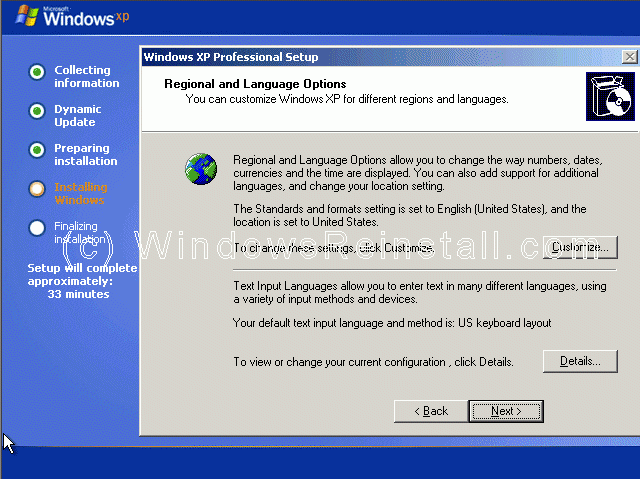
Now select your Standards and Formats, plus your location, then click "OK". 
Now click on "DETAILS".
Next select your default language, click "OK" when done. 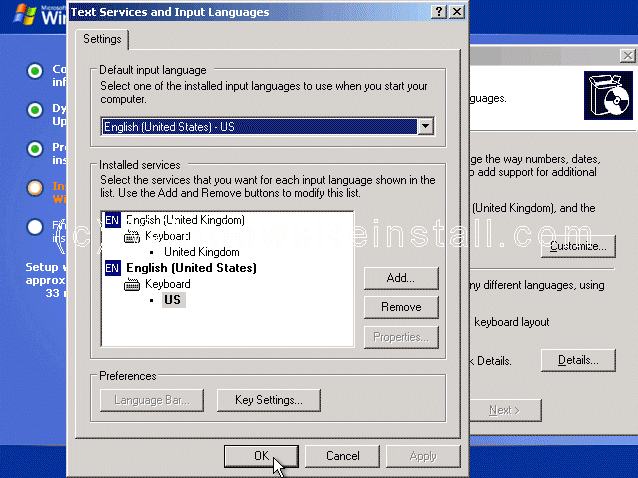
Now that you have made all necessary changes click on "NEXT". 
Now it is time to personalize Windows. File in your name and if you wish you can also file in the Organization section. Click "NEXT" when ready. 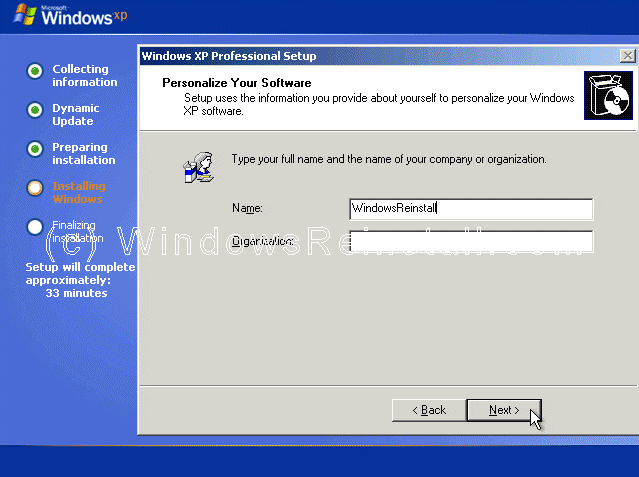
Now it is time for your product key. The product key will be on the packaging that XP was supplied with. It is 25 digits long. Some OEM computers will have a sticker on the side or back with your product key. Input the key and press "NEXT". 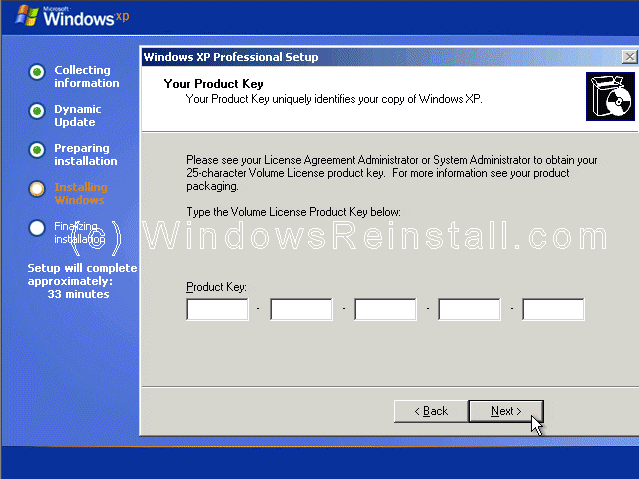
Now select your computer name and your admin password. Confirm the Admin password and press "NEXT". 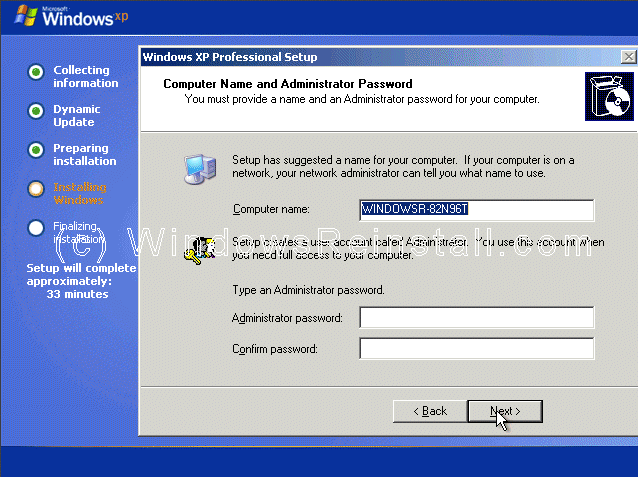
Date and Time settings are next, change as need be, then press "NEXT". 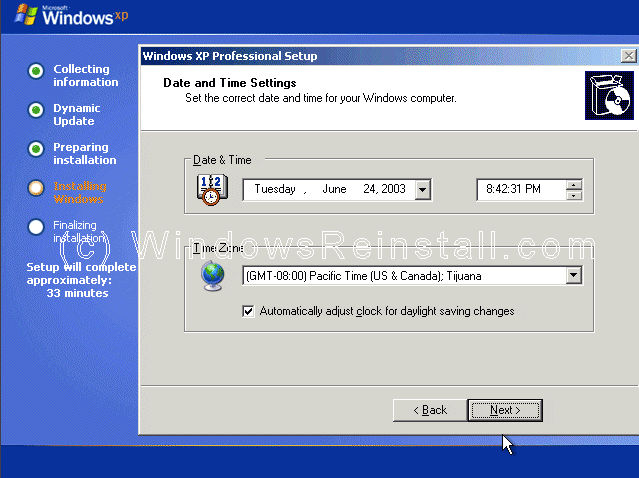
Windows will then continue installing. 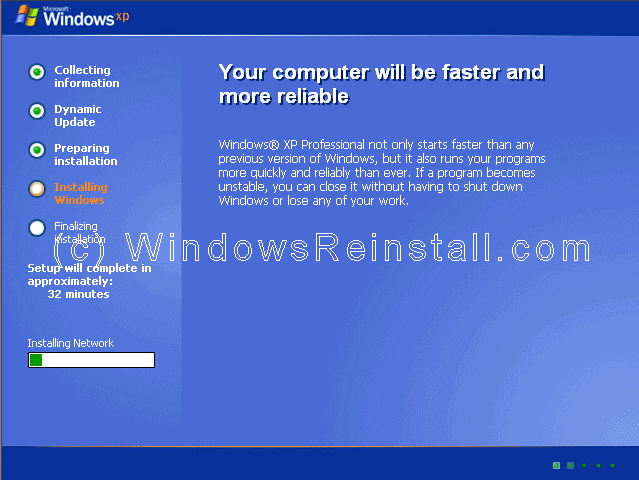
If a network card has been detected then you will get the following menu. Select "TYPICAL SETTINGS" and press next. This configured later in Windows. 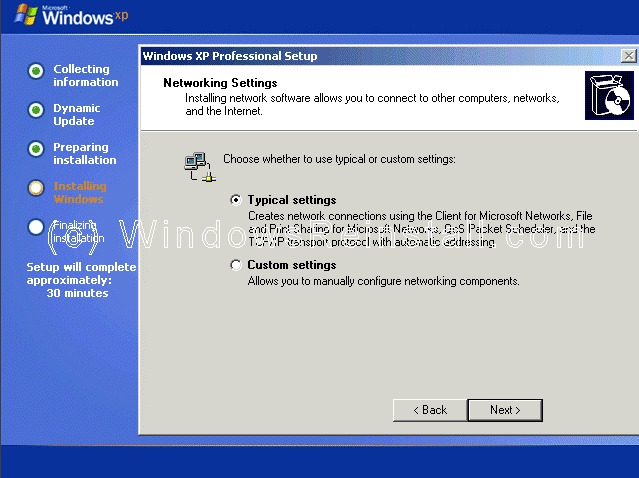
More network configuration, change workgroup name if need be and click "NEXT". 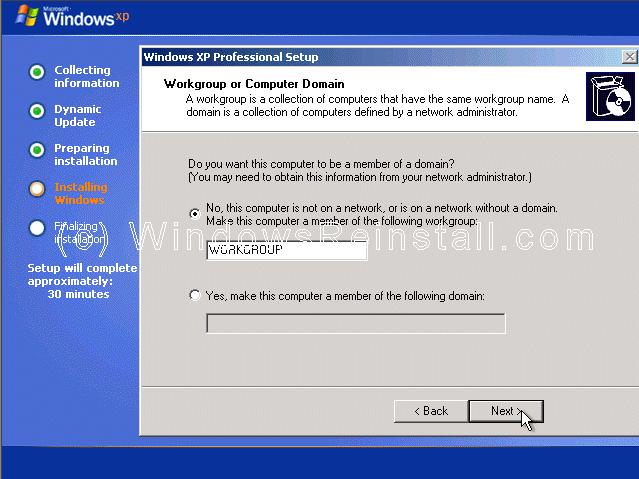
Windows will continue installing. 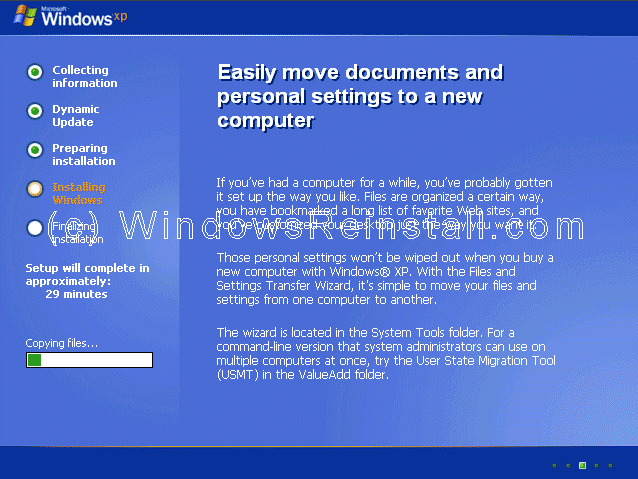
Windows install will now finalize. 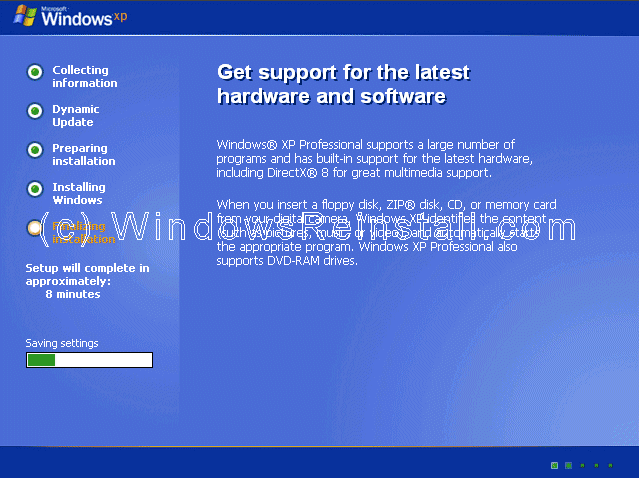
It is now time to restart Windows XP again, press "ENTER" to speed up process, otherwise Windows will do it itself in 15 seconds.
Boot will recognize that the XP CD is in the drive, DO NOT press any keys, let setup bypass the CD boot. 
Windows will continue loading. 
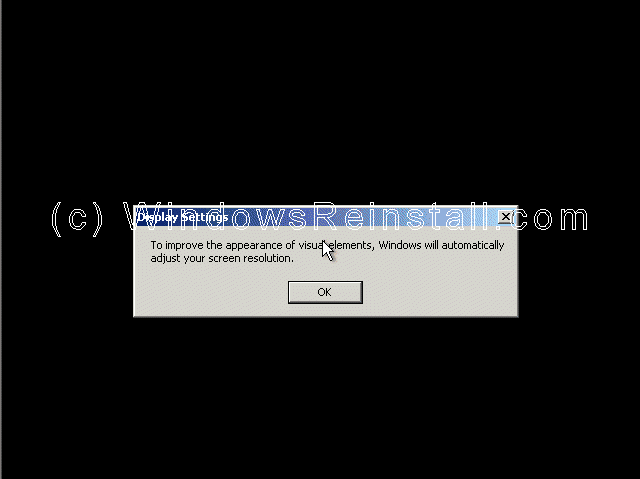
Windows will now adjust your resolution, click "OK" to continue.
If you are happy with the changes, click "OK" otherwise press "Cancel" to return to the old settings

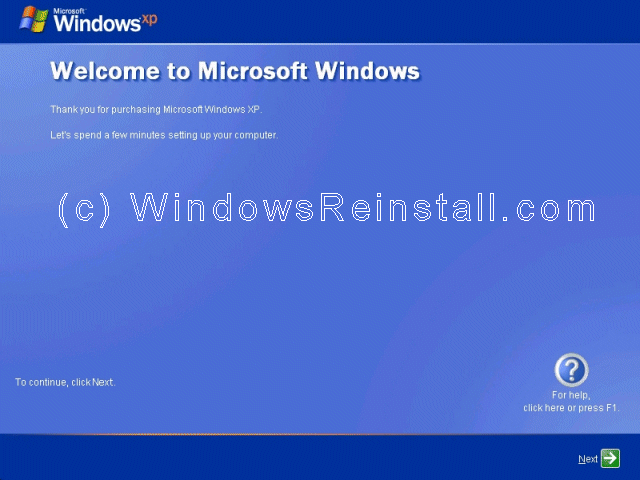
"Welcome to Microsoft Windows" screen now appears, press "Next" to continue.
"Help protect my PC" screen now appears, click top option to enable Microsoft's Firewall, Automatic updates and virus checker warning. It is recommended to do this even if you wish to put your own firewall on later. Only select "Not Right Now" if you not intend to use the internet. Once you select your option, press "Next".

Internet connection option is next. If your computer connects to a Professional network or directly using the network card, or is on a network then select "Yes", otherwise select "No".

Activate Windows option appears next, we recommend that you select "No, remind me every few days", that will allow you to make sure everything is correct and running OK before you use up one of your activate attempts. It also allows you to setup your security options and internet connection correctly. Click "Next to continue"

Windows now thanks you, click "Finish" to continue.

Windows will now apply your settings...
Now Windows "WELCOME" screen.

and finally the Windows XP Desktop. Windows is now installed.

If you are lucky you will have no drivers to install, but chances are the next step will be to install them. Check out device manager for unknown devices, likely items are Network Cards, Sound Cards, Printers, Scanners, Graphics Cards, Digital Cameras, etc. As you done an upgrade you may want to download the latest drivers for all your hardware, and check your programs also as some may not work or require updates.
|